Do you know what hairdrying is ? You will be surprised to know what it is about! Next, we will tell you everything about this hairstyle technique: what it is, how it is done step by step, what its benefits and drawbacks are.
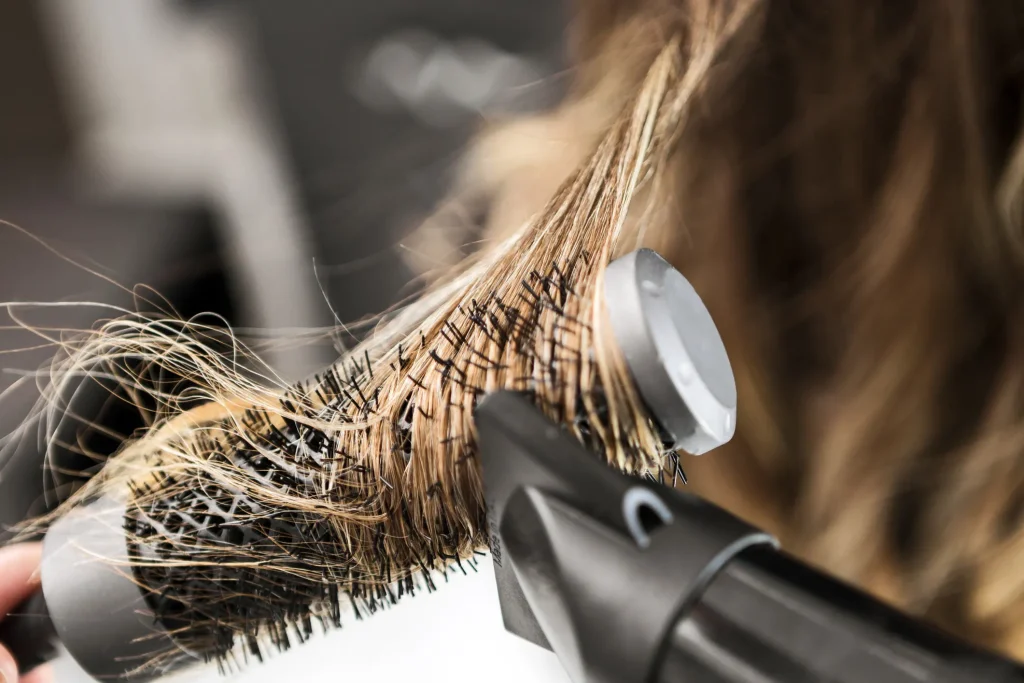
Table of Contents
What is blow drying?
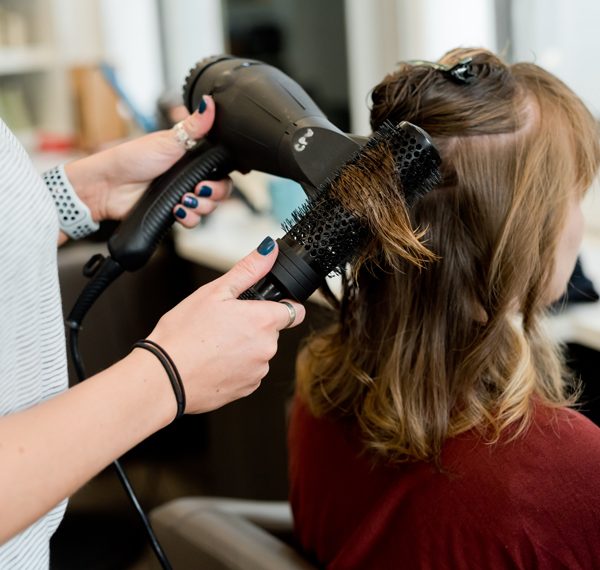
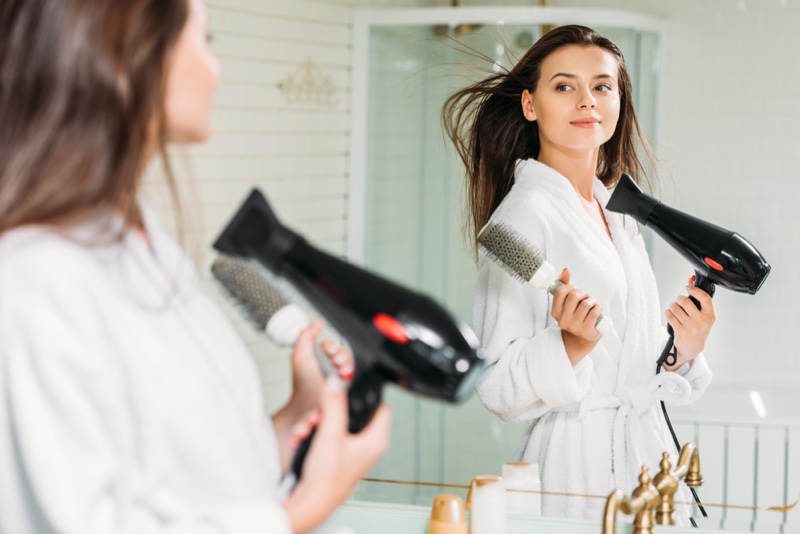
This technique is nothing more than the use of a dryer and brush to style your hair. The most traditional way before tongs or iron. Typically, it is used to straighten hair, but you can also make waves and/or style it as desired.
Tips before blow-drying at home
Before listing the step by step to obtain a perfect blow-dry, we also offer you some secrets that professionals put into practice to achieve impressive results, take note!
Tip 1: Dry your hair beforehand
It is best to dry your hair before styling it. You will achieve better results if your hair is already mostly dry (90% of your hair) and you will save styling time.
To do this, we recommend that you use the dryer at a recommended distance of 5 centimeters from your scalp to avoid damage to it such as dryness, for example.
Tip 2: Use a good dryer
Make the dryer your best ally; If you can, get one that is light in weight (no more than 500 grams) and that is ergonomic, that is, you can hold it in your hand easily.
In addition, we recommend that it contain these 3 main buttons: temperature regulator, precise air flow and direct cold air button.
Tip 3: Use the right brush
It is best to use a thermal brush, either round or flat. Depending on the wave you want, you should choose the diameter of the brush: if you want thin waves, one with a small diameter is your best choice; while if what you want are thick waves, the brushes whose diameter is indicated.
Tip 4: Use products to protect your hair from heat
The heat from the dryer can affect the hair fibers of your hair, so you will need to apply a thermal protector from the roots to the tips to protect each of your hair from possible damage.
You can do this after washing your hair (with it still wet), there are thermoprotective creams that contain keratin and useful amino acids that strengthen hair fibers.
Tip 5: Also apply a styling product
A styling product can be a setting spray or a mousse. The objective of using them is to achieve a defined hairstyle and to prolong its duration, in addition to facilitating the styling process. Therefore, you should apply it before combing your hair, already with semi-wet hair.
Tip 6: Lean on cold air to fix the movement
A super tip that we give you is to use the cold air position, which is currently incorporated into most dryers. By applying cold air for a few seconds, you will help to fix the movement of your hairstyle and keep it impeccable throughout the day.
How to do blow-drying at home step by step?
Now, we are going to list the step-by-step procedure to obtain a dream blow-dry like that of an expert. Follow them to the letter!
Step 1: Wash your hair.
Step 2: Apply a thermoprotective cream from roots to ends.
Step 3: Remove the moisture with the help of a towel.
Step 4: Continue drying the hair with the help of the dryer.
Step 5: Lower your head and stick the nozzle of the dryer to the back of your neck to soften the roots.
Step 6: Make movements all over your head to give volume to your hair, since with this styling technique you lose a little of the natural volume.
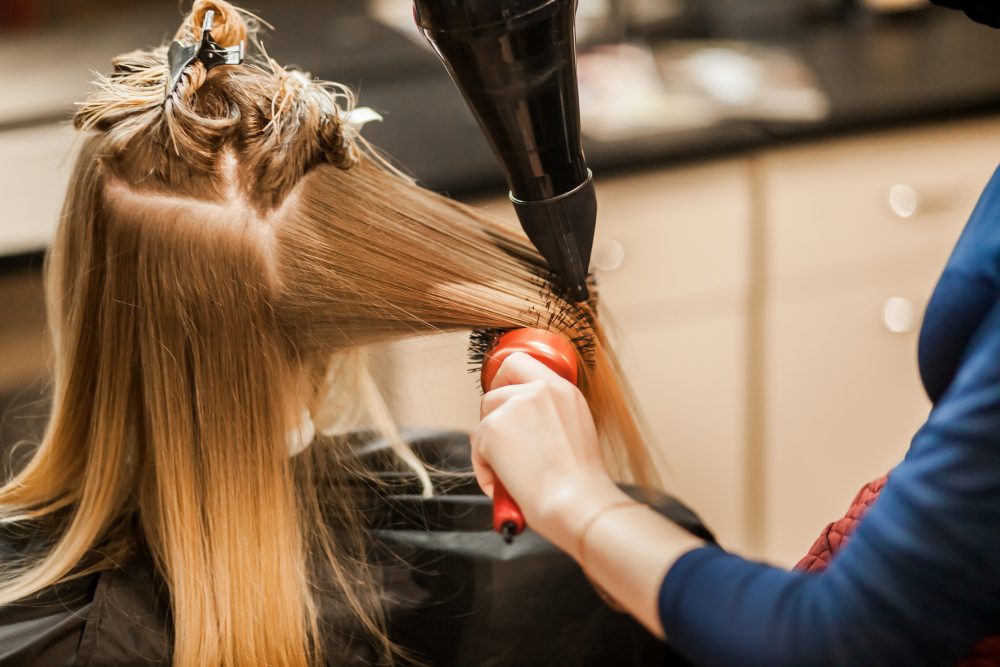
Step 7: If you are going to use a flat brush, the golden rule is to dry your hair unevenly.
Step 8: Apply styling cream or drops of hair oil before starting to protect the hair and make styling easier.
Step 9: Divide your hair into at least five sections (two at the back, two at the top and one at the front). The sections may vary depending on the thickness of the hair or the type of styling desired.
Step 10: Hold the sections or strands of hair with clips.
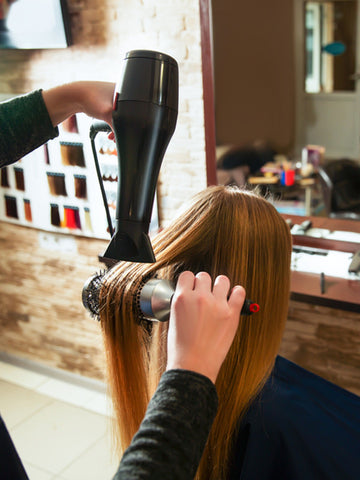
Step 11: Start working with the strands at the nape of the neck and at the bottom of the head.
Step 12: Roll each strand of hair around the brush (preferably thermal).
Step 13: Keep the dryer parallel at all times at a distance of 5 to 10 centimeters.
Step 14: Start from the roots and continue stretching the strand downward with a rotation of the wrist that gives shape to the hairstyle.
Step 15: Apply the hot air from the dryer to both the top and bottom of each strand.
Step 16: You can use brushes of different sizes; For example, a wider brush for the upper strands, or alternating the diameter of the brush between layers of hair.
Step 17: You can insist on the tip of the strand to give it the shape you want.
Step 18: Do not let go of the strand until it is completely dry.
Step 19: Seal the hairstyle by blowing it with cold air with the dryer.
Step 20: Spray your brush with hairspray and give it a final pass through your hair to help set your hairstyle for the rest of the day.
Benefits and disadvantages of blow drying
Among the main benefits of this technique are:
- It allows you to wear a perfect and long-lasting hairstyle.
- You will forget about the terrible frizz of your hair.
- It gives you a shiny appearance.
While, if you use this technique frequently, its drawbacks may be:
- Hair wear and loss of hydration due to the breakdown of the keratin molecules that make up the hair, as well as excessive exposure to heat.
Finally, what did you think of blow drying? Do you think you can try it by following the steps we have listed? Dare to try it and look sensational on your next date!

2 Comments
[…] hair […]
[…] several seasons of glory for XXL hair, we have to talk about what is being the trending haircut of 2024 (with permission from mermaid hair, which we love and will never die). There have been several […]