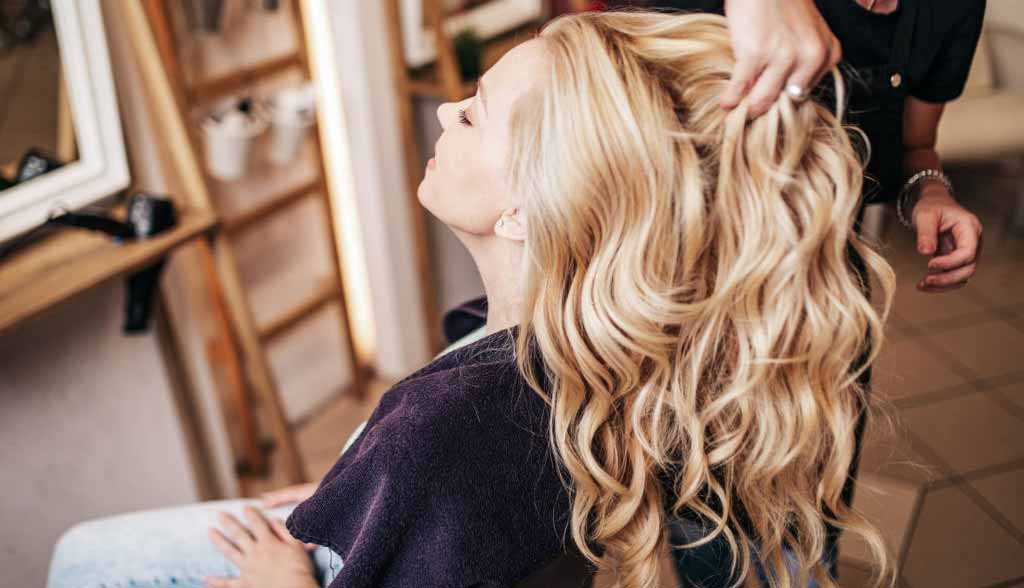
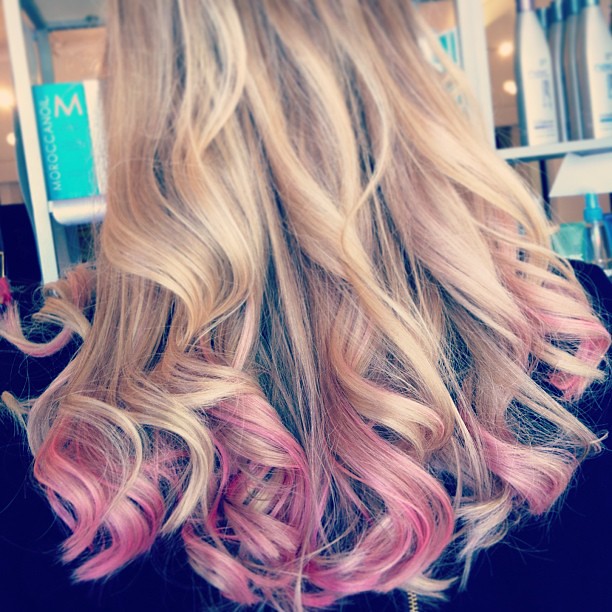
Balayage, chunky highlights, pastel tones, etc., all these trends have something in common; the bleach. So, if you are thinking about how to bleach your hair safely and from your own home, keep reading because here we will explain everything step by step.
Regardless of the trend you want to do, it is essential to bleach the natural tone of your hair to achieve the effect you want and, above all, to make it look pretty. Some techniques require a little more skill, but once you master the bleaching process, you’ll be able to pull off all the effects you see trending.
Tips before starting to bleach your hair at home
Pay close attention, since, to keep your hair healthy during and after bleaching, you need to take certain precautions and follow specific steps so that you don’t end up with a hair emergency.
Prepare your hair before bleaching
When you have decided that you are going to bleach your hair on your own, the first thing you should do is start taking care of it and keep it as healthy as possible.
It is no secret that all types of chemical treatments damage hair fibers. Therefore, having strong and healthy hair will ensure that it can resist even the highest degree of bleaching.
Starting to apply masks and ampoules two weeks before the process will provide your hair with the necessary nutrients to be able to subject it to chemicals without weakening it too much.
Find a bleach that suits your hair type
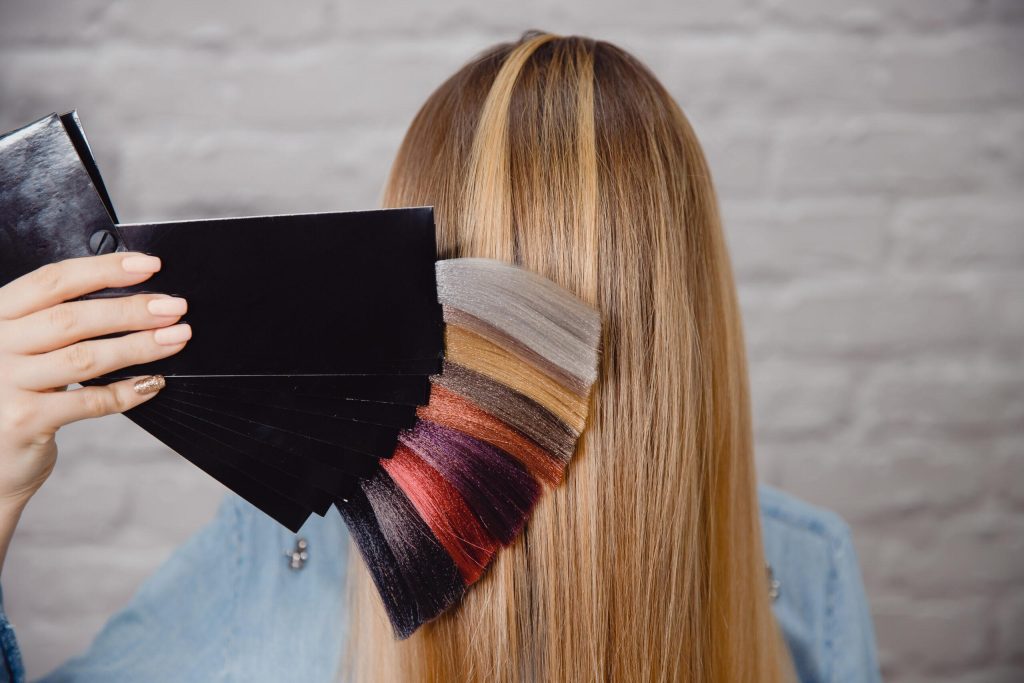
Currently, there are all kinds of formulas created to bleach hair depending on hair varieties and not only that, they also adapt to the type of effect you are looking for with your bleaching.
Do an evaluation of your hair, start by knowing its texture, its porosity, its natural color; everything that indicates what your hair really is like.
This is basic, since it is not necessary to use intense bleaching on thin, straight, light brown hair than is needed for thick, black hair.
Also focus on the result you want to achieve, whether you would like to reach an almost white tone or you are only interested in lightening one or two tones. With this very clear, it is time for you to look for your ideal bleach.
Don’t forget that the bleaching powder is mixed with a lightening cream and it is highly recommended to continue with the same line of products.
If you don’t yet feel confident making these mixtures on your own, then you can start with some bleaching equipment; Most Bleaching Kit includes everything you will need to bleach at home. In addition, these kits also have a lot of different shades so you don’t worry if you don’t know much about them.
The strand test
Even the most expert colorist performs this test on their clients if they don’t want to end up with burned hair. This test is very easy to do, you just need to separate a little of your hair, and a strand the size of your little finger is enough.
Now, following the instructions of the bleach you have chosen, form a small amount of mixture; It is not necessary to prepare much, since this mixture cannot be stored and, furthermore, you will have to throw away the mixture that you do not need. With the hair ready, apply the mixture and leave it for as long as your bleach indicates.
Never leave the bleach on longer than the instructions indicate. After the necessary time, rinse your hair, let it dry, and this will be the final result of the product.
This is your time to evaluate if you have obtained the results you expected and especially if your hair remains healthy. If everything is positive and you are satisfied with the result, you can continue with the application on the rest of your hair; If it is not what you expect, your hair breaks, burns or does not give you the expected result, do not hesitate and throw away that formula.
It is always better to get a new product that does not damage your hair. There are mistakes that can be prevented and, if you don’t want to end up with an unwanted cut, it is best to keep searching until you find the product that works for you.
Step-by-step guide on how to bleach hair at home
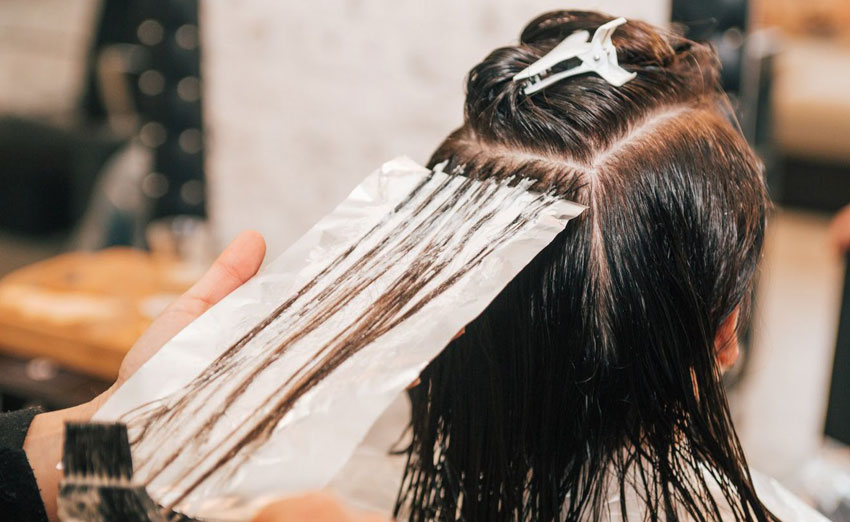
Having your hair and your product ready, it is then time to move on to applying the bleach. Remember that to subject your hair to any chemical treatment, it is advisable to have it unwashed, as this allows the natural oils produced by your scalp to protect the hair fibers and reduce damage.
We also recommend having everything you are going to use close to you: combs, tweezers and aluminum foil (to separate). Don’t forget to protect your hands and clothes.
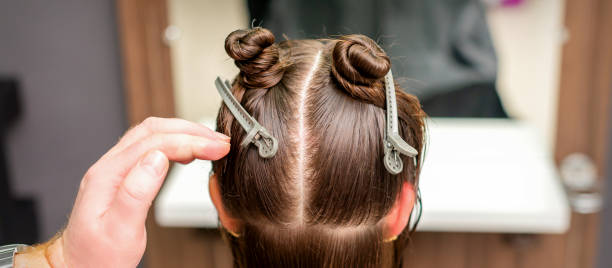
Separate hair
As with all color processes, sectioning the hair comes first. In addition to making it easier to apply the product, it helps you follow the correct sequence, allowing the results to be like those of a professional.
For chunky highlights, then you will have to separate strands and, for babylights, you will have to separate very fine hair. On the other hand, if you want to bleach all your hair, you should separate it into layers.
Distribute the product
One of the secrets for the bleach to work as expected is to pour it from the mid-lengths to the ends, but leaving the roots for last. If you are only adding some highlights, this is not necessary, but if you are determined to apply it all over your hair, do not apply the product to the root area.
Bleach is activated by heat and, as our head is a natural source of heat, placing the product directly on the roots from the beginning will cause these parts to lighten more, and may even cause discomfort to your scalp. Therefore, if you want an expert application, then you must follow these instructions.
Retouch
After applying the bleach to all of your hair, it is time to move on to the roots; A good tip is to apply it for the last 20 minutes to achieve a uniform finish. It is also time to check if you did not place the necessary product somewhere.
Use a mirror so you can check the back of your head and don’t leave any areas without product, this could reveal bad bleaching.
Rinse
After the time indicated in the instructions for the bleach you used, rinse with warm water and make sure to remove all the product. Bleaching, although an easy process, can be dangerous if you are not careful when doing it. For added safety, rinse twice.
Drying
Many times, when going to the salon, the stylists carry out all the processes on the same day, since they have to leave us spectacular by the time we leave there. However, by doing the coloring at home, you have the possibility of not damaging your hair as much.
Drying your hair naturally by applying oils or serums can help prevent weakened fibers from being further damaged by the use of the dryer or hot tools.
After this tutorial you will no longer need to ask how to bleach your hair from your own home, because you will be the expert. So don’t hesitate and get all the products and tools so you can start with that change of look as quickly as possible.


2 Comments
[…] listing the step by step to obtain a perfect blow-dry, we also offer you some secrets that professionals put into practice to achieve impressive results, […]
[…] all heard at some point about dyes. Although chemical bleaching may be the easiest and safest way to lighten hair, it can often lead to weakened and brittle hair or even hair […]